Homesteading Hair Care - Baking Soda & Vinegar Hair Rinses

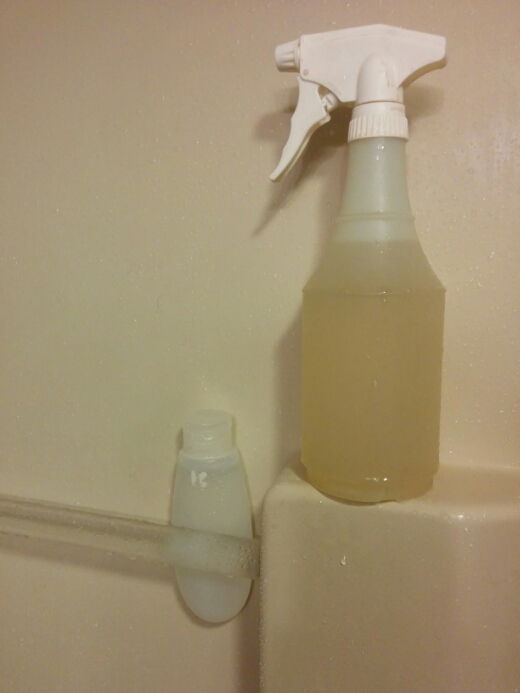
baking soda and vinegar rinse bottlesOver the last couple years, we've slowly simplified our bath and body routines and made the switch from "all-natural" manufactured toiletries to homemade concoctions from food ingredients. I discovered that making our own is cheaper, requires very little effort, and works better than what I can buy. Plus there's no wasted packaging or unnecessary chemicals! The first beauty product I made was hair "conditioner" pictured on the right. This started when Lillian insisted on keeping her hair very long but hated brushing out the tangles. We tried commercial spray detanglers, conditioning shampoo, extra rinses of conditioner and nothing lessened the time we spent fighting with a hair brush. Finally, based on a tip by Chef's Widow, I tried spraying some vinegar on her long locks at the end of a shower.

Instant success. Not perfection without a single tangle, but brushing is MUCH easier. And the ingredients give me no pause - vinegar and water is truly edible. I began using the vinegar hair rinse myself and ditched the bottled conditioner too.

Vinegar Hair Rinse Recipe

12 ounces water 3 ounces apple cider or white vinegar 2-4 drops essential oil (optional) 16 ounce spray bottle

1. Mix three ingredients in spray bottle. Screw on sprayer and shake to combine. 2. Cover hair with vinegar spray at the end of a shower or bath, paying special attention to ends. Allow to sit for one minute and rinse, or leave on without rinsing.

Using Baking Soda "Shampoo"

Next I moved on to baking soda shampoo, the basis of the "no-poo" routine. Commercial shampoos include strong detergents that strip hair of natural oils. The no-poo idea is to allow your hair to carry oils for better hair health and body.  To clean hair, no-poo calls for applying a dilute baking soda solution.

I experimented with different ratios and timing and settled on a very dilute solution poured over my hair like a rinse in my every-other-day showers. There's no lather, so I just smooth it around to make sure most of my hair is covered. Some people advocate scrubbing the scalp, but that seemed to make my hair more oily.

Many people experience a transition period where their hair is extra oily and itchy. I anticipated this and started shampooing less frequently and then using baking soda solution last winter when I more often wear hats. I experienced a week or so of funky hair before mine settled into a comfortable, predictable condition.

Whereas I used to have overly dry hair for 12-24 hrs and then overly oily hair after that, my hair can now go several days without washing with decent body and no itchiness. If I really want to push my time between showers, I use Lush No Drought Dry Shampoo when my hair is oily. It brushes through cleanly and corrects oily scalp. You could make something similiar at home, but I haven't tried because I've barely made a dent in the bottle I bought two years ago.

Baking Soda Shampoo Recipe

1 teaspoon baking soda 6 ounces warm water 2-4 drops essential oil (optional)

1. Shake baking soda and warm water together in a squeeze bottle. Add essential oils as you wish. 2. Pour 2-4 squirts over hair in the shower, shaking to combine before using. Smooth over hair and allow to sit for 1-2 minutes. 3. Rinse with warm water. Follow with vinegar rinse.

 Tips on Using Baking Soda and Vinegar Rinses

  • Essential oils can address tricky hair issues. The Chagrin Valley Soap Company has a great list of essential oils used in hair care.
  • Spray bottles vary in their quality. If I want something cute, I go for the ones in the Target travel toiletries section. For better quality, I buy from the hardware store.
  • The vinegar smell dissipates very quickly, as soon as hair is dry. If it bothers you, use essential oil.
  • A spray bottle of vinegar conditioner lasts us over a month and costs about $0.50. I mix up a new batch of baking soda rinse every week for mere pennies.
  • The 'mother' of active bacterial cultures in raw apple cider vinegar may plug the sprayer mechanism. If you shake well before each spray, this shouldn't happen, but soaking the end of the sprayer in hot water and then spraying that through will usually clear the mechanism.
  • Chlorine from swimming pools disrupts natural hair oil production. I try to avoid chlorine pools but when I can't, I rinse with clean water as soon as possible after swimming and expect a few days of overly dry and then overly oily hair.
  • When we travel, I pack a smaller container with some dry baking soda but ditch the vinegar spray bottle. We add water to a drinking cup to the baking soda and pour over our hair. For conditioner, we either bring or buy a small bottle of vinegar, add water in a cup, and pour over. I've used individual packs of lemon juice or malt vinegar snitched from cafeterias in place of my preferred apple cider vinegar in a pinch.

Will you try making hair care products at home? Or are you already no-pooing? Share your story in the comments.

Homesteading Bath & Body - Handmade, Low Impact Routines

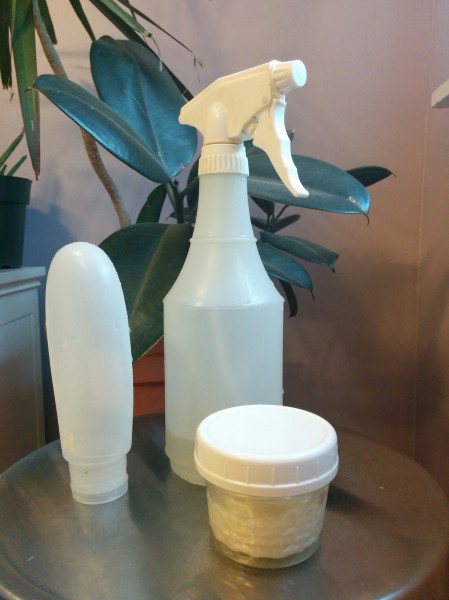
vinegar hair conditionerOne area of homesteading I rarely write about is personal care. It's a bit of a taboo subject and I'm a little shy about body talk. But what you put on your body has such a huge impact on personal and environmental health, not to mention a homestead budget, that it's time to address the ring around the tub, so to speak.

Once, we were traditional Americans who showered once a day with body wash, shampoo, and conditioner, and followed up bathing with lotions, deodorants, and the like. We needed the conditioner to soothe the dry hair, lotion to cure dry skin, and lots of time to clean the bathroom. Now our routines are much more minimal, our skin is happier, and we spend a lot less time dirtying and cleaning the shower.

I didn't realize until taking pictures for this and upcoming posts that removing manufactured bath products has another advantage: there's no marketing. My daughter isn't reading the back of a shampoo that promises 'perfect' locks or 'happiness' or any other values that realistically don't come from a bottle. I inadvertently removed messaging that is often anything but supportive.

Simple Bathing Routines

  • Shower every other day....ish... A few days ago I asked Alex "When did I last take a shower? Was it Tuesday or Monday?" It's a good sign if I have to ask that the answer is go bathe. But in all seriousness, unless it's the height of summer and we're muddy up to our knees, there's not much reason to shower daily. Showering less frequently saves water, lowers our gas water heater bill, and prevents over-dry skin.
  • Ditch the bathing soap Soap for hand washing before meals and after chicken chores? Yes. Soap from head to toe every shower? Nope. I only lather up when there's visible dirt on my Chaco-clad feet in the summer or if I'm feeling particularly sweaty. Otherwise, I let the warm water wash away debris and let my microbiota keep me clean.
  • Go No-poo I'll detail this in another post soon but basically, we don't use shampoo anymore. Lil and I use a baking soda solution and vinegar rinse instead which have resulted in less hair loss, better hair body, and no more expensive bottles. Alex soaps his scalp because he has no hair.
  • Make your own I now make our soap from animal fats and craft my own deodorant. Both are fairly easily made from ingredients I usually have on hand and I can customize them to our family's preference for low to no scent. Again, I'll share recipes soon.
  • Use edible oil moisturizers Take a look at the ingredients in your favorite lotion. Likely it contains alcohol (which helps the moisturizer feel less greasy but dries at the same time) and/or petroleum. Thanks to not showering and using so much soap, I don't need as much moisturization as I used to, but when I do want lotion, I use straight food-quality oils. I like sesame seed and almond oil for all-over body lotion (not make your own - I'm working through a bottle of Weleda Baby Lotion I bought over a year ago) and coconut oil for problem spots like hands in winter. I like the simplicity and toxin-free nature of single ingredient lotions.

I can picture some people reading this and wrinkling their nose. Skipping shampoo and showers sounds like we must smell and look quite dirty. But I don't think that's the case, or at least no one has said anything to that effect in person.

There might be some scientific basis to the idea that our bodies regulate germs and sweat better without the 'help' of soaps. Much like we're understanding more every day about the importance of gut bacteria, researchers are also beginning to study the microbiome of human skin. They're finding that the bacteria on our skin surface may be critical to preventing infections and healing wounds.

I wouldn't recommend transitioning from standard bath and body products to minimal all at once. We worked in changes over the past few years, allowing our bodies to adjust slowly. Over the next few posts, I'll detail our DIY recipes and tips for use. In the meantime, anyone want to confess: what's your bathing routine?

Heating With A Woodstove

We bought a woodstove at Menard's on clearance last spring. In October, Kicking Ash installed it for us. Heating with a woodstove is a romantic homesteading ideal and we do enjoy it. But today I thought I'd uncover some of the not-so-fun reality:

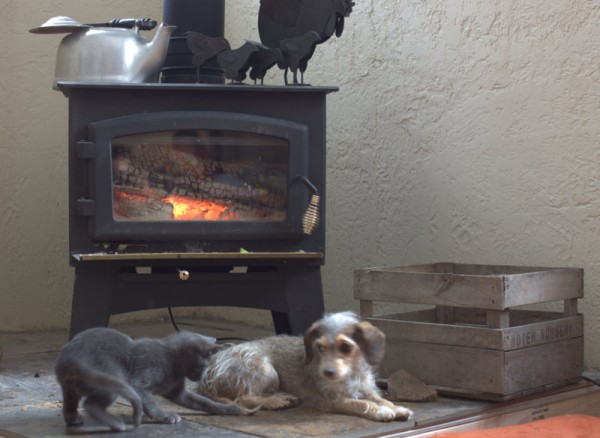
pets by woodstove

1. The hearth will be messy. Keeping a fire roaring requires moving and adding logs every few hours and clearing out ashes every couple days. This will necessitate sweeping at least every other day, something that annoys my lazy housekeeping self.

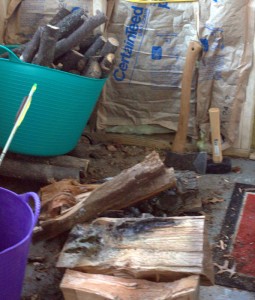
2. The entrance to your home will also be messy. We store a week's worth of kindling in the not-quite-finished mudroom and bring in bigger logs daily. Every movement of wood fuel creates a trail of sawdust, bark, and leaves.

antique kettle humidifierdrawing by woodstove

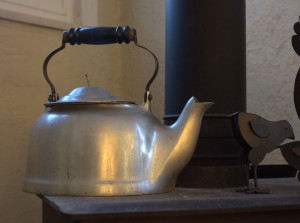
3. The air will be dry dry dry. After getting by with an open stainless dish of water for a little while, I found a large vintage cast aluminum tea kettle that we now keep filled with water to humidify the air.

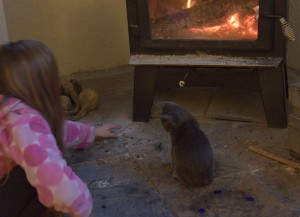
4. Your daughter might see wood ash and a slate hearth as an art medium. Her kitten might erase all the images with a swish of his tail. Now the kitten will be, you guessed it, messy.

messy wood storage mudroom (2)cats cuddled by woodstove

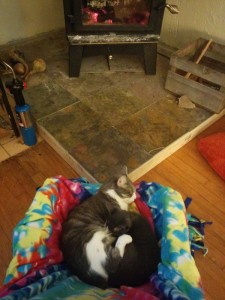
5. Your pets will gather as close as possible to the radiating warmth. This is charming and you will feel sorry that you have to disturb them to add another log to the fire.

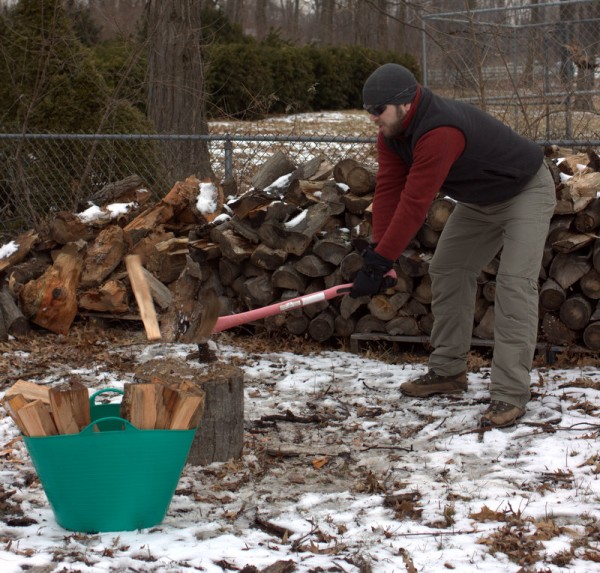
6. You will underestimate the amount of wood you need for a given day or week or season and be out at the woodpile chopping in all weather. Splitting logs is good, empowering exercise. It's also a never-ending exhaustive task.

splitting lumber

7. You will feel deep satisfaction from harvesting renewable fuel and using it to fill your home with beautiful warmth.

Oil Cloth Circus Buntings To Deter Chicken Predators {Tutorial}

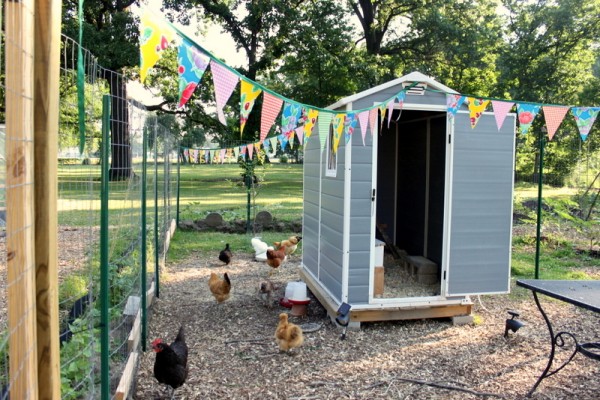
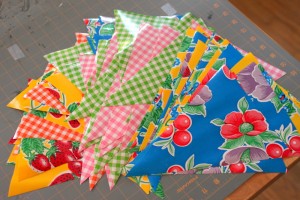
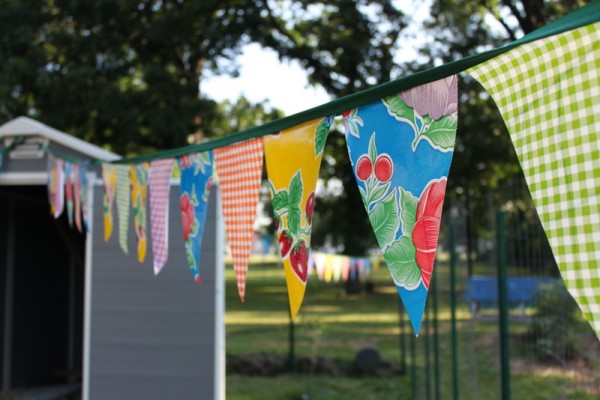
chicken coop oilcloth buntingOur chicken yard is newly decorated with circus-like oil cloth buntings. They make me smile while detering aerial predators like hawks. Birds who might take chickens don't think they have enough space to land and fly away again with the buntings in the way. cutting oilcloth for buntingoilcloth triangles

I made the buntings with five coordinating oil cloth patterns from local fabric store Sew to Speak. Oil cloth is vinyl bonded on a cotton mesh base, making it a sturdy, outdoor-friendly fabric.

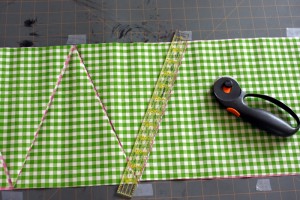
I cut each selection into strips 10-inches wide. Then, I placed removable tape on my cutting board every eight inches, staggering the bottom row by four inches, as markers for cutting. I used a rotary cutter and a straight edge to cut the strips two layers at a time into isosceles triangles.

Next, I made four stacks of triangles with a random pattern assortment. My brain naturally tends toward order, so I had to watch that I was selecting randomly.

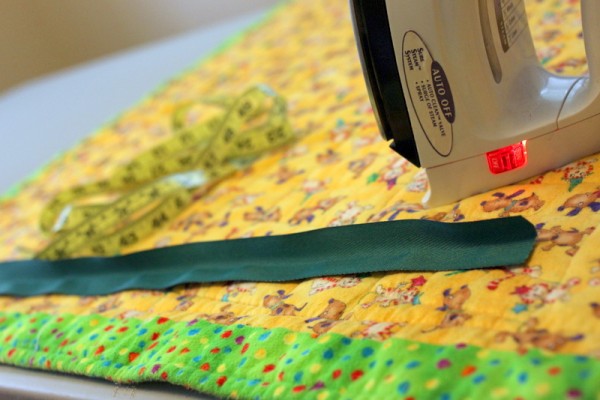
ironing polyester twill tape for buntingsewing oil cloth bunting The Sew to Speak employee suggested twill tape as a binding/stringing material but they only had cotton and I wanted something that would hold up to constant outdoor use. I looked for polyester twill tape locally but found none in large lengths, so I purchased a roll of twill ribbon on Amazon. 

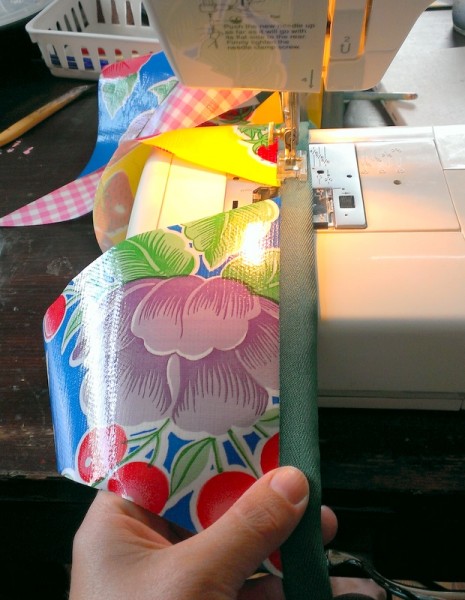
I assembled the buntings by inserting oil cloth triangles as I sewed the folded twill tape together, leaving approximately 18 inches at each end with no oil cloth for ties.

anti-predator bunting closeup

In the end, the chicken-yard circus buntings cost me about $40 in materials and 4 hours of time. I could have used boat rope (Alex's suggestion) to achieve the same predator-deterring effect, but I prefer the color and whimsy of this little project. What do you think?

Our Natural Playground

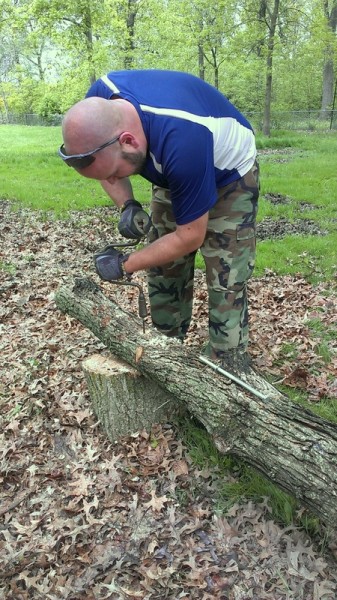
using hand drill to secure balance beamWhen we bought our new house, we had big plans to build a tree house around our huge oak. Then we found out that the oak might qualify as a Big Tree and we don't want to damage it. And establishing the garden is taking an inordinate amount of time and money, leaving little for a play house.

Instead of buying lumber to create a house-like structure, we turned to what we have in abundance - tree sections - and used tools on hand to build a natural playground. First, Alex lag-bolted a thin oak trunk to two trunk sections to create a balance beam fun for kids and adults. After blazing through batteries and exhausting the air compressor, Alex resorted to hand tools and mechanical advantage to drill the pilot holes for the beams. Trees are ever humbling.

woman on tree trunk balance beam-002

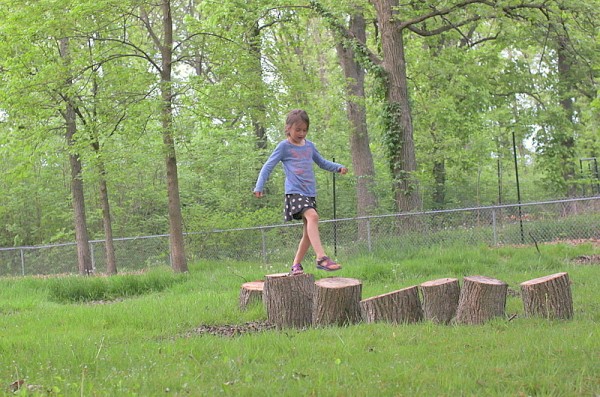
I rolled sections of catalpa tree trunk into a series of stepping logs over a wet area. Until these settle in, they are quite unbalanced and difficult to walk over! Lil and friends enjoy using the tarp-covered soil pile as a slide, one which is shrinking by the day. Lil thinks the creatures who visit her nearby fairy house might use the balance beam and stepping logs.

woobly wood stepping stones-002 sliding down the dirt pile-001

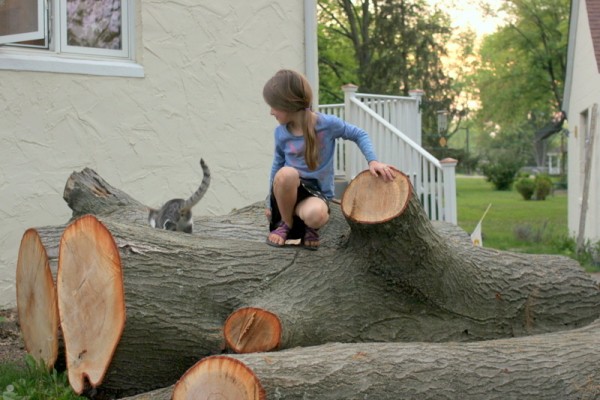
Last, but certainly not least, everyone likes climbing on the four-foot-tall trunk sections of oak laying near the house. Someday we'll get around to processing them into lumber or firewood. Right now, they're a pretend pirate ship, a climbing gym for kitty Moonshine, a jumping-off point, and a lookout.

climbing on tree trunks-002

We are enjoying the natural playground so much that I question whether we'll ever get around to building a tree house. It might be more fun to put in a couple slack lines and hammocks.

Where are you playing these days?

Early Spring Inside The Hoop House {Friday Five}

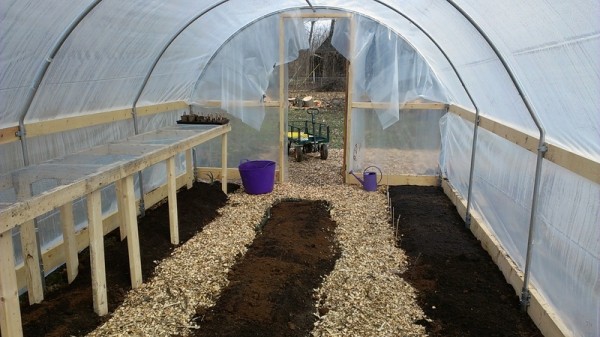
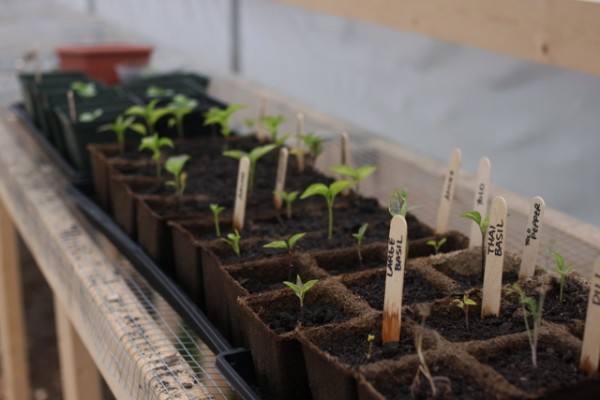
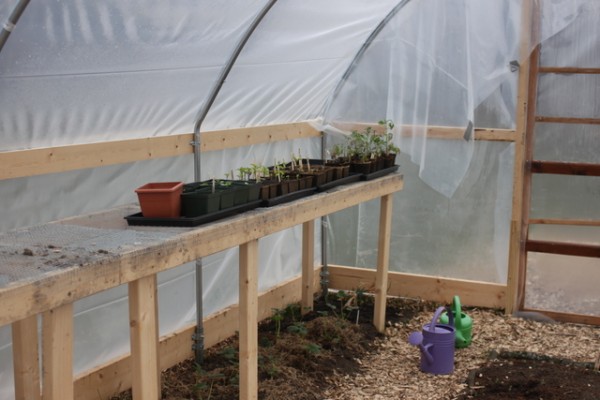
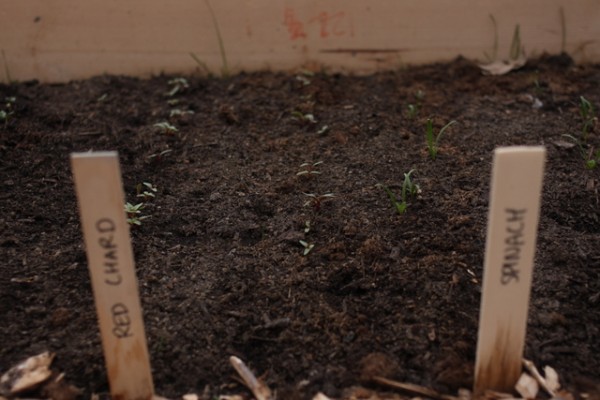
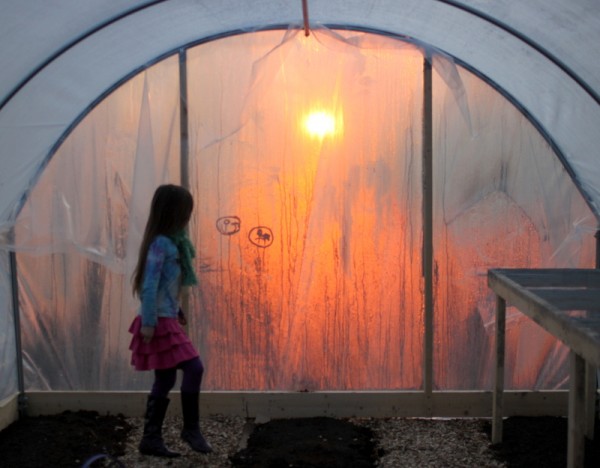
What's going on inside the hoop house we built? 1) Garden beds of Price Farm Organics soil from City Folks Farm Shop and peat moss over cardboard broken by walking paths of landscape cloth covered by mulch. Alas any gaps between the cardboard and cloth are already growing weeds... hardware cloth shelf in hoop house2) Seedlings hardening off on the hardware-cloth shelves. seedlings in hoop house3) Strawberry plants under the shelves where water drains down from seedlings. strawberries in hoop house4) Cold-tolerant food like kales, lettuces, and beets. greens in hoop house bed5) Friends and family hanging out. The hoop house is always warmer than the outside; on the days reaching 70 deg F recently, the hoop house sauna was positively steamy! japanese girls in hoop housesunset hoop house

Warm Love / Hot Love

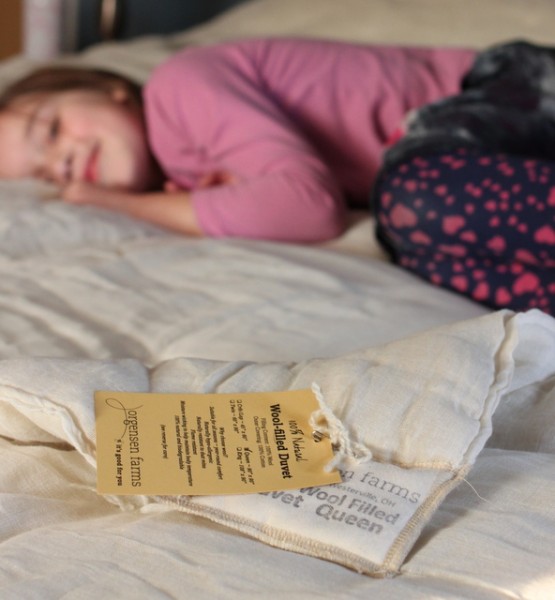
Valentine's Day 2013 was all about the temps. girl laying on wool duvet

I gave Alex a practical yet luxurious warm gift - a 100% wool duvet from Jorgensen Farms. Truly a gift for both of us, we expect the duvet to be warm yet breathable, hypo-allergenic, and easy to clean by hanging in the sun this summer. We're excited to have a piece of Val's beautiful Organic farm in our grown-up bedroom. You can have one too - buy through her online store or at the Worthington Farmers' Market.

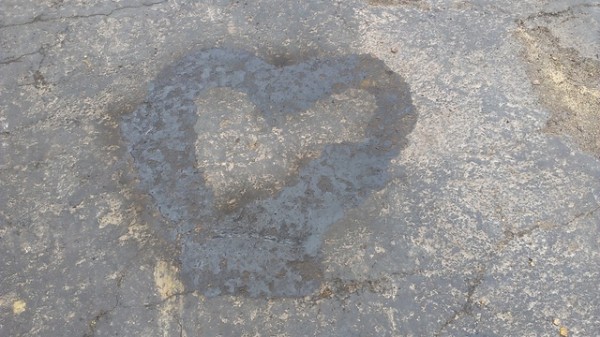
Alex expressed his feelings with fire. He created a flaming heart on the driveway, captured on video while I was out of the house. The resultant singe on the driveway will likely last for months.

driveway heart singe

And we all shared warm sour cherry pie for late afternoon tea. This is our third annual Valentine's tea, a tradition I love for the simplicity and ritual.

valentine pie fiesta

What temperature was your Valentine's Day?