Probiotic Ranch Dressing Recipe with Food Bloggers Against Hunger

food bloggers against hungerHave you ever been hungry? Really hungry like the 16.2 million kids in America who are food-insecure living in families without the means to regularly put nutritious food on the table?

I'm hangry when I forget to eat a big breakfast before becoming immersed in a project and suddenly it's two pm and I want to eat RIGHT NOW. I was hangry yesterday, in fact. I was surrounded by healthy food; I only had to stop a moment to prepare and eat it and my belly would be full. I thankfully have never been truly hungry.

But 48.8 million Americans struggled with hunger at some time during the year 2010. 1 in 4 Americans used at least one of the 15 USDA food and nutrition assistance programs. While many local food advocates like me disagree with some of the food choices available in some USDA nutrition programs, there's no denying that any food, even factory-farmed food, is better than no food at all for those who are hungry.

A country as great as America is cannot stay this way when children and families are hungry. Children cannot learn in school, crime and domestic unrest increase, and our national productivity declines when people are unable to meet their most basic needs.

My family delivers food donations to our local food pantry. We plant extra rows in our garden and share our harvest. The farmers' markets I work at collect fresh seasonal food for donations. But this type of charity is clearly not enough to meet the need when food pantries are inundated with hungry families.

To truly eliminate hunger, governmental leaders must continue to address and fund anti-hunger and anti-poverty programs. Take 30 seconds now to send a letter to Congress lending your voice to the cause.

When you have a little more time, consider the new film A Place At The Table documenting the complex problem of hunger in America. Accompanied by the music of T Bone Burnett and The Civil Wars, the picture also promotes solutions. Find a viewing of the film in your city or on demand through iTunes and Amazon.

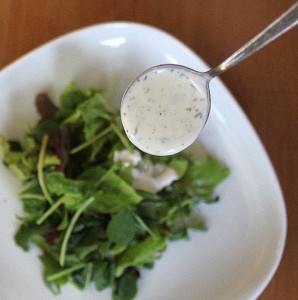
probiotic ranch dressing recipe

Today, April 8, food bloggers around the world are sharing recipes to address hunger. I am proud to contribute my recipe for probiotic ranch dressing to the Food Bloggers Against Hunger project.

One way my family saves money at the grocery and adds flexibility to our dining is by making our own salad dressings. A bottle of dressing is at least a few dollars at the store and often includes manufactured oils, sugars, and stabilizers that I would prefer not to feed my family. The ingredients to make simple, fresh dressings at home are cheaper and healthier.

We whisk together this buttermilk ranch dressing recipe frequently because it pairs well with fresh greens in season now and is useful as a dipping sauce too. It uses buttermilk and sour cream, both full of live active cultures that can aid digestion.

ranch dressing recipe

Probiotic Ranch Dressing Time: 2 minutes active, 30 minutes inactive  Makes: 1 cup

1/2 cup buttermilk with live active cultures 1/2 cup sour cream with live active cultures 1-2 teaspoons minced garlic chives (can be grown from a sprouting garlic clove planted in a pot of dirt or foraged from your backyard if you are lucky like us and they grow wild in your area) 2 teaspoons minced fresh parsley or 1/2 teaspoon dried parsley 1 teaspoon minced fresh oregano or 1/2 teaspoon dried oregano flakes 1/2 teaspoon finely ground black pepper salt to taste

1. Mix all ingredients. Adjust consistency to your liking by adding more sour cream for a thicker dressing or more buttermilk for thinner dressing. 2. Refrigerate for at least thirty minutes to allow flavors to combine. Taste and adjust seasonings as desired. 3. Serve within one week.

Food = Love Indian Paneer Cheese {Recipe Guest Post}

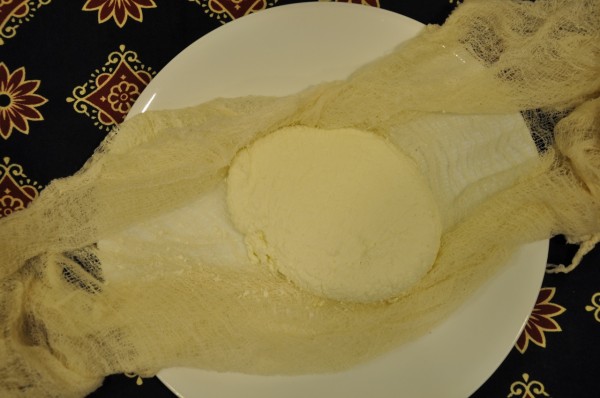
paneer cheese recipe

I am pleased to share an authentic Indian paneer cheese recipe today from Susan Saldanha. She is a Columbus cook originally hailing from India who teaches custom cooking classes about Indian culinary traditions for groups and individuals in your home. Contact Susan by email to experience her healthy, delicious take on Indian cooking. 

June 2012 was memorable because I went back home to India after eight long years. Landing in Mumbai India I was hit by the heat, the humidity, the flood of humanity and a hunger in your belly. I began to realize I missed all of this so much.

My mom grumbling to a visiting neighbor awakened me one sweltering afternoon. In muted tones she said "Mrs. Advani, please stop sending food. All the neighbors bring her food claiming it was her favorite dish when she was a girl and I don’t get a chance to cook for her. After all, she’s my daughter visiting after eight years."

In India, Food= Love and believe me I had a lot of good “love” growing up.

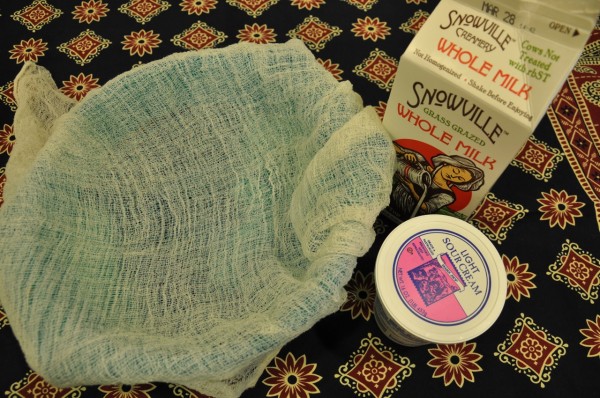
Today I will share with you a taste of my Motherland: a Paneer cheese recipe. This is often eaten in the US as Mattar Paneer (peas and paneer) or Palak Paneer (spinach and paneer). Paneer comes from Northern India. It is a fresh milk cheese that is easy to make. Highly nutritious, it is a great source of protein. Its subtle flavor profile allows it to absorb the Indian spices very nicely but can be eaten by itself as a delicious ‘anytime-snack.’ paneer cheese ingredients

How to Make Paneer

Ingredients

  • 4 cups of whole milk

  • 3/4cup sour cream or yogurt (sour cream adds a decadent lusciousness to the paneer)

  • Cheesecloth folded over to give you four layers

  • Colander

  • Heavy bottomed pan

paneer cheese curd pressing paneer cheese Method:

  1. Bring the milk to a boil on a medium flame in the heavy bottomed pan. Keep the flame on medium as milk burns very easily and will add a burnt taste to your paneer.
  2. Add the sour cream and keep stirring gently. Turn the heat up to high to facilitate the curdling process.
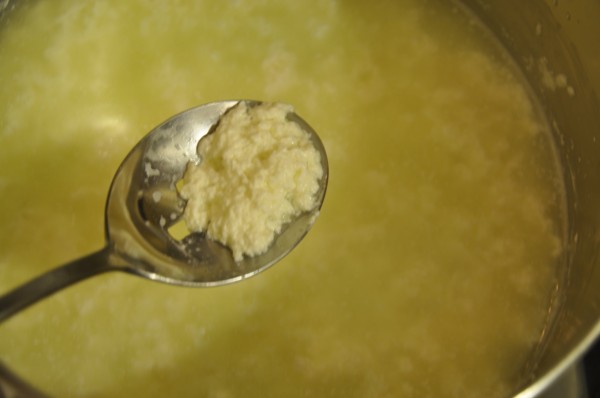
  3. The milk will begin to appear lumpy and will have light green whey around it.
  4. Strain the whey in a cheesecloth lined colander.
  5. While the paneer is still in the colander run cold water over the paneer till it cools down. Squeeze as much of the extra water out of the paneer as you can by twisting the lose ends of the cheesecloth.
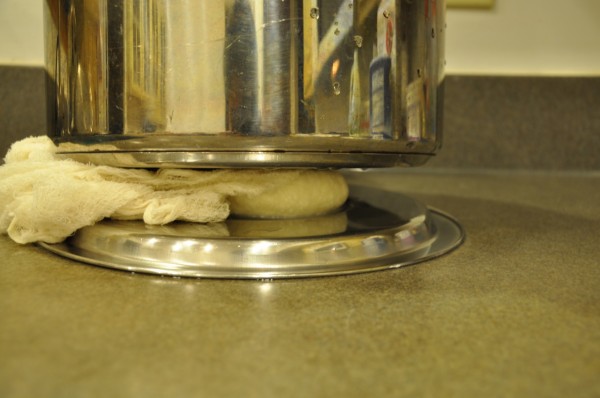
  6. While still in the cheesecloth place the paneer under a weight (a heavy pan or a foil lined brick) on your counter for about 1-2 hours.
  7. Unwrap the paneer and cut it into cubes. It’s ready to eat.
  8. Paneer keeps in the refrigerator for up to 3 days. Freezing is possible and cutting it into cubes before you freeze it is a good idea. After thawing you have to lightly fry (preferably in homemade ghee) on both sides before you use it in cooking or else it tends to break apart.

Serving suggestions:

In my home we eat paneer fresh and love it with a slight drizzle of honey or on a toothpick with a small piece of pineapple and a sprinkle of chaat masala. (Chaat masala is a spice blend used on a variety of snacks and has spicy, salty, and sweet tones. It is available in any Indian grocery store.)

Note from Rachel: Our favorite Indian cooking book is 1,000 Indian Recipes by Neelam Batra.

Loving Lard - How To Make And Use Rendered Pork Fat

homemade pork lard recipeOh, lard. Mention the word and some people turn up their noses, remembering days of eating cookies that tasted like pork. Others are curious, having never eaten lard to their knowledge. And then there are those of us whose faces break into knowing smiles.

All About Lard

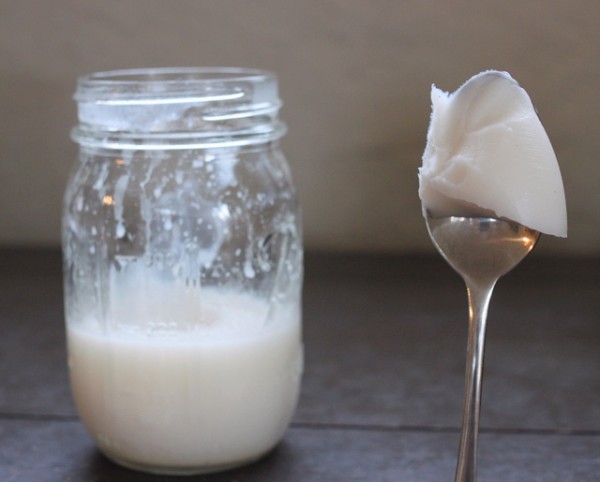
High quality lard is a pure-white fat. It remains solid at room temperature. It should smell only slightly porky, if at all, and that flavor bakes away when cooking.

Home-processed pork lard is arguably healthier than vegetable shortening because it doesn't contain trans or hydrogenated fats. It contains less saturated fat than butter and is 45% monounsaturated fat, one of the more heart-healthy kinds. Lard also contains vitamin D naturally.

Pay attention to lard labels if purchasing - some are hydrogenated to be shelf stable which transforms some of the good fat into trans fats. Others contain preservatives like BHT which you may want to avoid. I recommend buying directly from a local pork producer like Morning Sun Organic Farm.

How To Make Lard

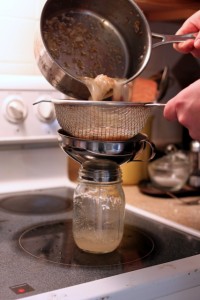
Start with high quality pork fat from around the organs (leaf lard) or body of the animal. When we recently slaughtered and butchered a Large Black pig from Six Buckets Farm, we ended up with 18 pounds of fat unattached to muscle cuts. Lyndsey, the farmer, was concerned that we might be upset with the excess fat, but I assured her we knew what to do with it. lard cookinglard with cracklinsstraining lard Set up a rendering pot, a heavy bottomed non-reactive lidded pot over an adjustable heat source. Some prefer to do this outside over a propane stove because the slightly porky smell can bother some folks. A crockpot set up in a garage or porch is another idea.

Add in your pork fat, ideally fresh and chunked into small pieces. Ours was frozen this time so we started the heat very low, breaking up the pieces as it thawed. Add a little water and the lid so the fat begins to simmer over low heat. You want the fat to melt out of any proteins that might hold it in place without burning those same proteins. Stir frequently to prevent sticking on the bottom.

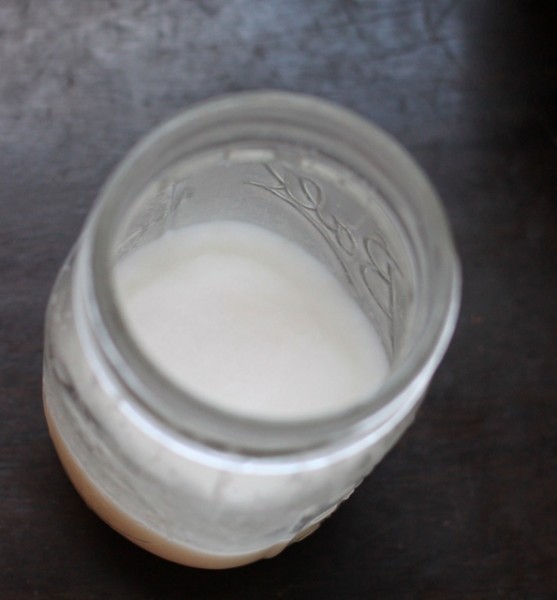
In one to three hours, you'll have a pool of fat with some pork cracklins. Drain the cracklins on a towel and eat as a snack or on salad. Pour off the liquid lard into a non-reactive container like a mason jar. Some people stir in salt at this point to flavor and preserve the fat. Allow it to come to room temperature, cover, and refrigerate for up to a month or freeze for up to a year.

What To Cook With Lard

Lard makes the best pastry. Lard pie crust (I use Ruhlman's 3-2-1 ratio of  flour, fat, and water by weight with at least 30 minute rest in fridge) is flavor neutral and bakes into a flaky yet strong dough to contain fillings. Lard dough is very easy to work. Sometimes I mix lard 50/50 with butter because the butter flavor is desired.

You can pan-fry meat or vegetables in lard. It is a useful emulsifier in pates. Many traditional recipes like Mexican tamales and refried beans call for lard. Some chefs are even advancing the fat to be used as a spread like butter - whipped salted lard was part of a bread and spreads platter I ordered in October at Cleveland's The Greenhouse Tavern.

homemade lard in mason jar

Pork Lard 1. Start with leaf fat, back fat, or belly fat from pork. Cut into one inch pieces and place in a clean deep sided pot. 2. Add a little water to the pot, cover, and begin to heat over low heat. Stir frequently to prevent sticking. Continue until all fat is melted, one to three hours. Add more water as needed to keep fat from browning. 3. Cook as long as desired to crisp up cracklings (delicious on salad or as a garnish!) and then strain through cheese cloth or a paper coffee filter. 4. Pour lard into clean glass containers and allow to cool to room temperature. You may add salt to taste while it is still liquefied  Refrigerate and use within a month or freeze for up to a year.

Do you use lard? Do you make it?

PS. Like Harmonious Homestead of Facebook to see photo outtakes featuring a certain lard lovin' kitty, Moonshine.

Chewy, Soft, Honey-Sweetened Butter Caramels With NO Corn Syrup

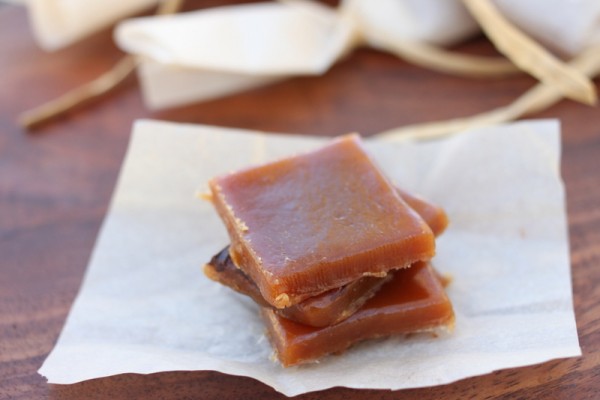
homemade honey caramelsMaybe you are snowed in with a little extra cream from holiday baking. Or you want to master the art of candy making. Perhaps you want to impress someone with the most delightful sweet bite at the end of a meal. Maybe you have some fantastic honey to highlight. I adapted this recipe because I had excess expiring Snowville cream I couldn't let go to waste. Caramels sounded good but I could find precious few recipes without corn syrup. I'm not rabidly against corn syrup but I don't choose to keep it around the house. I also wanted to practice candy-making. I am inconsistent because I typically become distracted with another chore or are trying to manage too many things in the kitchen at one time.

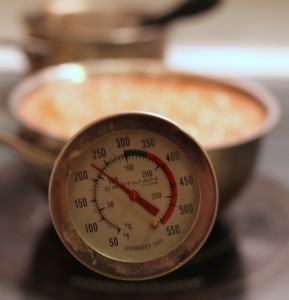
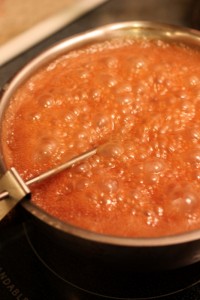
caramel ingredientscandy thermometerboiling caramel

I started by making butter by hand to use up more of the cream. I waited patiently while sugar and butter roiled on the stove until the exact right temperature. I even remembered to let the hot sugar cool before tasting - no burnt tongue!

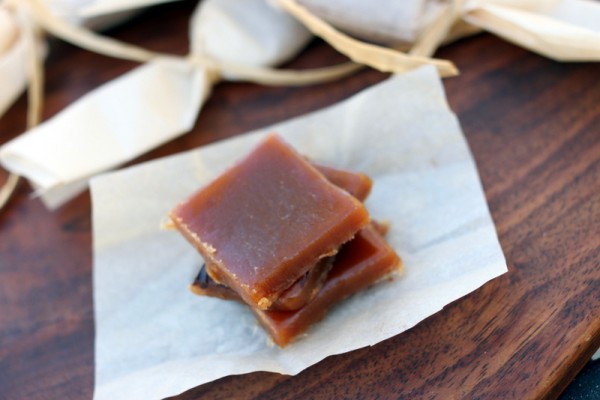
The results were worth the effort. These caramels are soft and chewy but not pull-your-fillings-out sticky. They smell floral from the honey and surround the taste buds with richness. Whatever your reason, you will not be sorry after you spend an evening cooking caramels.

homemade caramel recipe

Soft Caramels adapted from Chez Pim Makes: 40-50 1 1/2 inch squares Time: 30-50 minutes

1  1/2 cups granulated cane sugar 1/2 cup honey 1 cup heavy cream 1/2 cup sweet cream butter (make by shaking approximately 2 cups room-temperature cream in a quart jar and skimming butter from buttermilk or use unsalted butter) 1 generous pinch salt 1/4 cup finely chopped chocolate (optional) parchment paper

1. Mix sugar and honey in a heavy-bottomed pot. Heat over medium until the mixture is melting, swirling the pan to stir without using a utensil. Continue to cook until the sugars have caramelized to a deep brown.

2. Meanwhile, in another heavy-bottomed pot, slowly heat cream to a simmer.

3. Whisk butter in small pieces into the sugar and honey. When it is totally incorporated, whisk in the cream and salt as well.

4. Cook over medium heat until the mixture measures 255F with a candy thermometer. Do not stir. This may take up to 15 minutes of boiling - be patient and keep cool water nearby in case you accidentally touch a splatter.

5. Meanwhile, line a cookie sheet or baking dish with parchment paper.

6. When the candy reaches 255F, pour onto the parchment-lined pan. If using chocolate, sprinkle over the top after 10 minutes of cooling.

7. Allow the caramel to cool completely. Cut with a serrated steak knife and wrap in parchment squares or layer between parchment paper in a covered container. Consume within 7 days for best texture.

Gingerbread: House for the Kids,Crisp Cookies for Adults {Recipe}

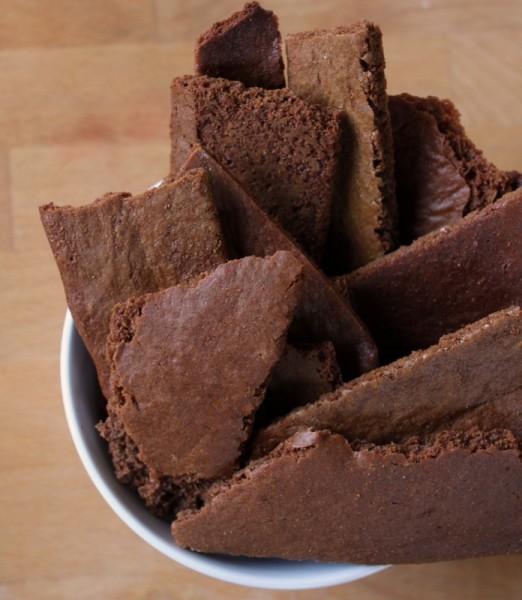
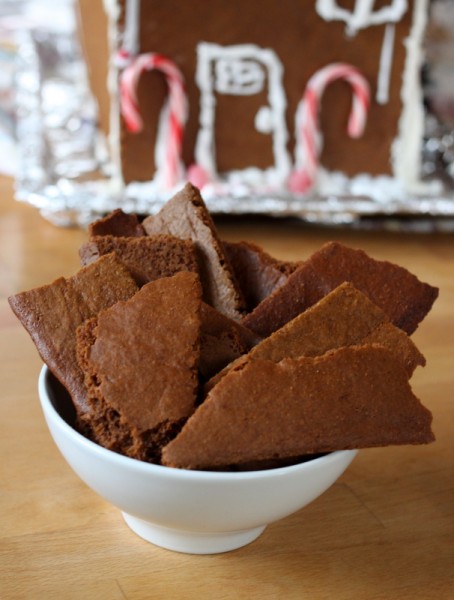
gingerbread crisp cookies recipeA few days ago, I shared some of our holiday crafts. I told you that my pastry-chef sister Heather baked gingerbread house pieces for Lil to decorate. Our kitchen remains sticky from the amount of frosting and candy used on that house. What I didn't reveal are the ridiculously good spoils from the house-making: Heather gave us all the trimmings from the gingerbread walls. Rough in shape, but generally slender, these perfectly crisp cookies beg to be dunked in coffee or tea. I eat a few pieces a day for a mildly sweet, spicy, crispy snack.

Sugar-coated house for kids and refined cookies for the adults - what a sweet holiday tradition!

gingerbread house recipe

Crisp Gingerbread
Yield: 1 # 12 oz (enough for a good-sized gingerbread house or approximately 4 dozen cookies)
4 oz (1 stick or 1/2 cup) unsalted butter
4 oz (~ 1/2 cup) brown sugar
6 fl oz ( 1/2 cup) molasses
1 whole egg
12 oz (~2 2/3 cup) all purpose flour
1 teaspon baking soda
½ teaspoon salt
2 teaspoon ground ginger
1 teaspoon ground cinnamon
½ teaspoon ground nutmeg
½ teaspoon ground cloves
parchment paper
    1. Cream butter and sugar until light and fluffy
    2. Add molasses and egg, beat to combine well
    3. Stir together remaining ingredients in a separate bowl
    4. Gradually add dry ingredients to wet, beating until just blended (Dough will be very wet.  If making for a gingerbread house, you may want to add extra flour to enable an easier roll out)
    5. Gather into a disk, wrap with plastic, and refrigerate at least 1 hour (for easier rolling, freeze dough and then roll out as soon as pulling from the freezer. It will still be a wet dough, but easier to roll out)
    6. Roll out to ¼ inch, using as much flour as necessary for easier rolling
    7. Cut with floured cutter, or bake for gingerbread house **see note
    8. Bake on a parchment-lined cookie sheet at 350 until lightly browned and feels barely firm when touched
**To get clean lines for gingerbread houses:
  •  First make a template out of cardboard or firm paper.  After freezing and rolling, bake before cutting out the pieces (this will work well if you roll the dough between pieces of parchment.  You can then just pick up the parchment paper, rather than trying to move the fragile dough).
  • Bake partially, until the gingerbread is golden, but still slightly soft to the tough.  Pull from the oven and let cool for 3-5 minutes, or until you can cut the dough without tearing it.  Place the template on top of the dough and deeply score the desired shape with a very sharp knife (I like using an exacto knife).
  • Let the dough cool entirely, then remove the excess gingerbread from the shape you cut out (wall, roof, etc.), you may have to cut the lines again, but it should be fairly easy to remove the excess gingerbread.
  • After removing any excess, return the shape to the oven to dry out one more time.  You will want the gingerbread to be very firm before taking out of the oven.
  • Let cool entirely and then assemble the house with a very thick royal icing (1 egg white whipped with enough powdered sugar to make a thick spread; add a splash of vinegar, or lemon juice, to help it to harden easier).  Decorate as desired.
The Pearl gingerbread house
PS. If you want to see some professional creations, I recommend the gingerbread house display at Easton Center on the second story of the mall near the AMC theater. Heather worked on The Pearl recreation with the Cameron Mitchell Catering group, pictured above.
PPS. I finally have a new laptop! After two months of scavenging time on shared computers, I have one of my own! It's taking a little time to set up all my preferences, but my first impressions of the Lenovo Twist are excellent.

Fast Flavor: Herb-Infused Oil

herb infused oil Often the simplest things can make the biggest differences in a recipe. A dash of cocoa powder in mole sauce or a clove of garlic in mashed potatoes elevate the dish from everyday to gourmet.

Such is the case with herb-infused oil.

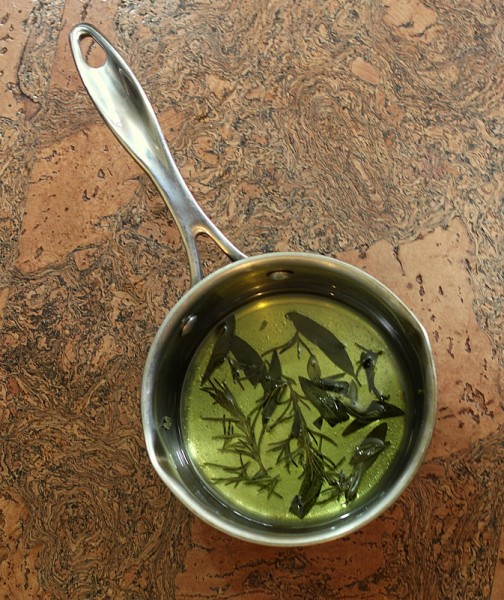
Start with a high quality oil, such as extra virgin olive oil. Add a handful or two of fresh herbs and heat the oil gently for a few minutes. In that time, the herbs give over their flavor to the oil. Cool, strain out the herbs, and add a luxurious layer of flavor to salad dressing, sauces, or any recipe needing an herbal boost.

I used the pictured rosemary and sage oil to make a white bean dip. If I had used the herbs raw, the texture of the dip might have suffered, it would have turned an off-green color, and the pungent herbs could have overwhelmed the eater. Instead, the autumn-flavored oil heightened the spread from something mundane to a distinctive accompaniment to a crudite plate.

Fast flavor, short post. Try it!

Ketchup, For The Good Times {Recipe}

homemade ketchup recipe Some preserves are easy, some are drastically cheaper than store-bought, and some are tastier than anything you can buy. Alas, homemade ketchup is none of these things.

So I can't exactly explain why I make it every year.

I suppose I can ketchup because processing all the jars of regular sauce becomes boring. And when I'm in the midst of tomato madness, condensing a little puree with spices isn't any extra trouble - it is, in fact, a welcome chance to do something different.

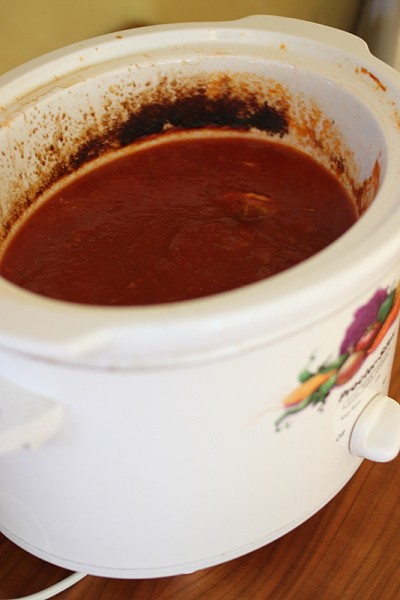
Last year I improved my ketchup method by cooking the sauce down in a slow cooker. This prevents the bottom from scorching and makes it easy to leave the house or do other chores during the lengthy, oh so lengthy, cooking period.

While ketchup doesn't meet any of my traditional characteristics of a recommended preserve, HITK readers have ask for my recipe. Here it is:

ketchup recipe in slow cooker

Homemade Ketchup

Makes: approximately 5 pints Time: 12 hours cooking, 30 minutes active

1 teaspoon olive oil 1 whole onion, diced 2 quarts tomato pulp (most easily made with a food strainer and sauce maker tool, or made by stewing tomatoes and running through a manual foodmill to remove skins and seeds.) 1 cup brown sugar or honey 1/4 cup apple cider vinegar 1 teaspoon garlic powder sachet of whole aromatic spices (your choice of bay leaf, cinnamon stick, cloves, allspice berries, juniper berries, celery seeds - I use a little of each) 1 teaspoon salt 1/2 teaspoon white pepper 1/2 teaspoon lemon juice per pint

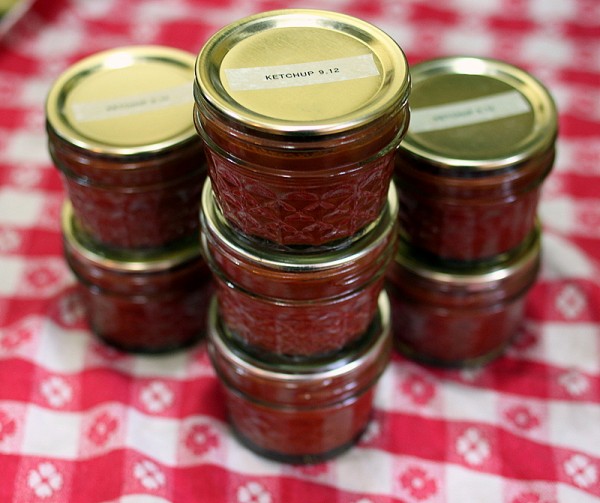
1. Heat a medium sized pot over low heat. Add olive oil and onions. Cook until translucent, approximately 10 minutes. 2. Add onions and remaining ingredients except for lemon juice to a slow cooker*. Turn slow cooker on high and allow to simmer for 3-4 hours. 3. Remove spice sachet and set aside. Puree mixture with an immersion blender. 4. Replace spice sachet and continue to cook for 3-4 hours. Taste (don't burn your tongue!) and adjust salt, pepper, vinegar, or sugar as you see fit. 5. Continue cooking and tasting until tomato is of ketchup consistency. This may take an additional 3-4 hours. 6. Ladle hot ketchup into sterile jars with one half teaspoon lemon juice per pint. Wipe rims, place on two part lids, and process in a water bath for 35 minutes/pints, 40 minutes/quarts. Remove from water bath, cool, and store properly.

*Don't have a slow cooker? Use a medium pot on low heat, uncovered, and stir frequently to be sure the bottom does not burn.

This post, with much respect for the A Prairie Home Companion, brought to you by the Ketchup Advisory Board.

Homemade Chocolate Syrup {Recipe}

lil drinking chocolate milkI freely admit that despite being exposed to hundreds of kinds of local foods, my daughter is not an adventurous eater. We can and do deal with this at home but travel is difficult with her slim food preferences.

One of our biggest struggles while dining away from home is milk. Lil has an addiction to Snowville Creamery milk. I agree with her that their milk tastes fresh and yummy and...like milk. What we can offer her at restaurants and chain groceries is typically over processed; I understand her rejection of the cooked-tasting stuff.

And yet, I want her to drink milk. It's a nearly complete food that makes up for dinners where she eats only bread or lunches where she picks at a fruit salad.

What's a mom to do? I cover the stale milk flavor with something everyone loves: chocolate.

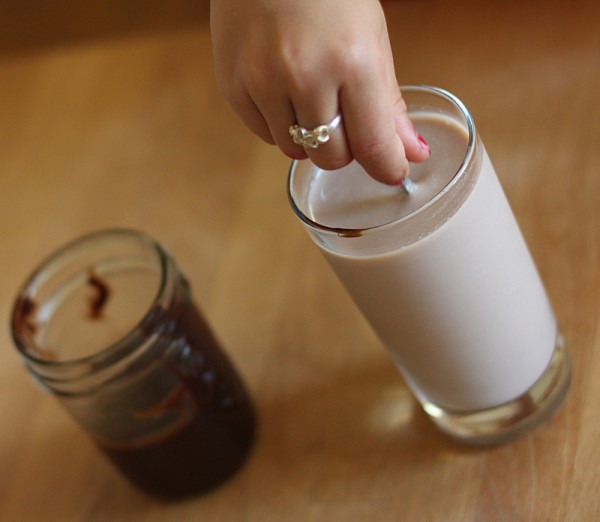
stirring chocolate milkI could pick up the national brand chocolate syrup in the brown can, but instead I usually make my own from ingredients found in most pantries. I made this in the Bahamas and cooked several batches in Hawaii. My recipe contains no corn syrup, only takes a few minutes to prepare, is low fat and vegan. Homemade chocolate syrup is equally at home topping ice cream or stirred into cold milk or hot coffee.

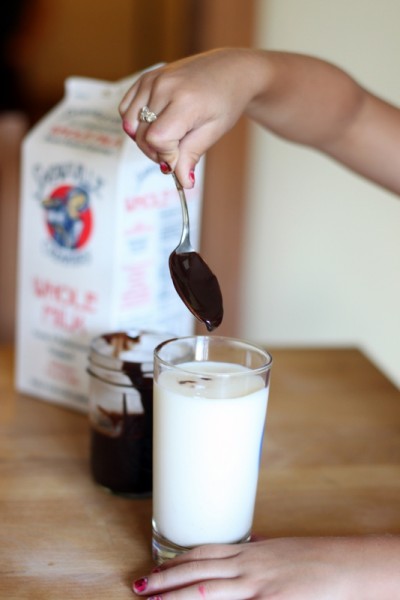
dropping homemade chocolate into snowville milk

Simple Chocolate Syrup

Time: fifteen minutes Makes: approximately 1/2 cup 1/4 cup 100% cocoa powder (buy the highest quality, fair trade cocoa powder you can find) 1/4 cup granulated sugar 1/2 cup water tiny pinch salt (optional) 1/2 teaspoon vanilla extract (optional) 1. Whisk together cocoa powder, sugar, water and salt in a small pot. 2. Heat over low, stirring often, until the mixture is the thickness you like. Stick-to-the-spoon thick takes about five minutes. 3. Remove from heat and stir in vanilla extract. 4. Cool and store in the refrigerator for up to two months.