What is there to write about the best bread ever? The sourdough challah that Alex spent a year perfecting? The recipe we're baking for the third time this week today?

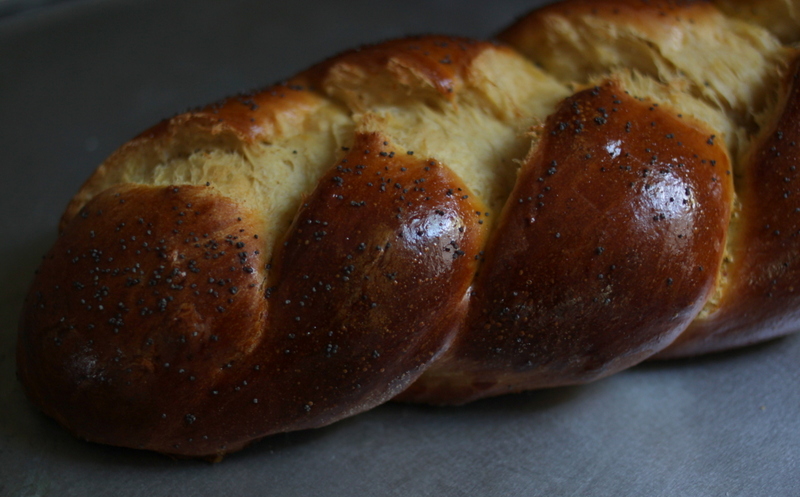
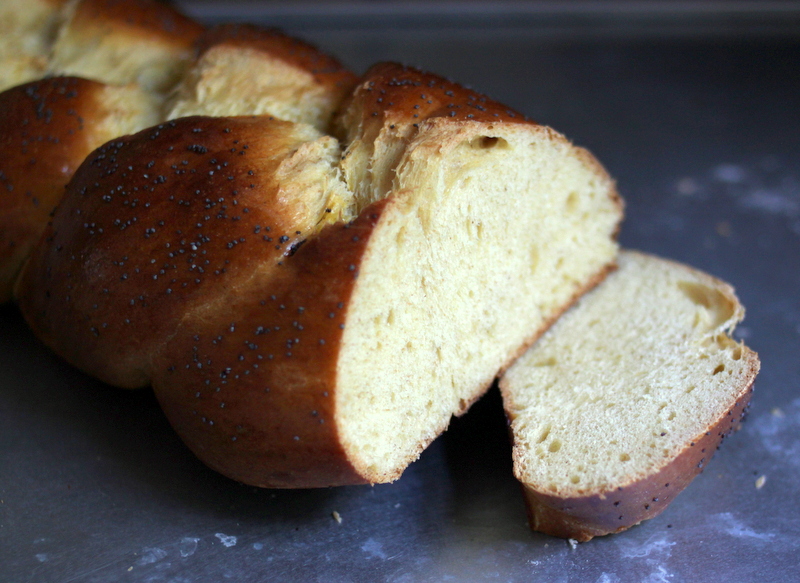
Alex's sourdough challah tastes mildly tangy, sweet, and rich. The texture is dense but smooth. We eat it plain, with butter, covered in honey (Lil's favorite), or as a base for sandwiches.
This challah is enriched with two things we have in abundance - eggs and sourdough. Both contribute to the luxurious flavor and enhance the nutritive content beyond standard sandwich bread. This is a good thing for Lil and I who work and play outside for hours a day and want quick snacks frequently.
A great bread like this takes effort, however. Our sourdough pet requires thrice weekly feeding. And the overnight rise takes time too. We use a kitchen scale to weigh the ingredients which initially seems complicated but will change your baking for the better as it eliminates variations due to moisture. Alex typically weighs and kneads the dough before bed, braids in the morning, and I bake sometime around noon. Don't be afraid of the process though - the routine doesn't feel like much work when the reward is so abundant.
Sourdough Challah
Time: 15 minutes mixing, overnight rise, two hours rising and baking next day Makes one large loaf
6 grams/0.2 ounce instant dry yeast 400 grams/16.8 ounces unbleached all-purpose flour 100 grams/4.2 ounces whole wheat flour 60 grams/2 ounces warm water 90 grams wet sourdough starter* 3 large eggs, plus 1 yolk for glazing 8 grams/0.3 ounce table salt 55 grams/1.9 ounces vegetable oil 85 grams/3 ounces mild honey or 70 grams/2.4 ounces granulated sugar approximately 10 grams poppy seed, optional
1. Measure ingredients except egg yolk and optional poppy seeds into a bread machine, stand mixer, or large bowl. 2. Mix until they come together. 3. Knead until dough is smooth and elastic, about ten minutes. 4. Let rise in an oiled and covered bowl overnight in cool place. 5. Divide dough into thirds and roll into 18 inch long ropes. Braid ropes and place on a silpat-lined baking sheet. 6. Beat egg yolk in a small bowl. Brush yolk on the top of the loaf to glaze it. Sprinkle on optional seeds. 7. Bake at 325 F for 20-30 minutes or until top is browned and bottom sounds hollow when tapped. Tent with foil if you desire a lighter colored crust.
*Sourdough starter is a topic that deserves its own post, but for here's the pertinent info for this recipe: We keep our white flour starter fairly liquid-y, about the consistency of cultured buttermilk. Local folks, we share our starter freely so contact me or see me at the Swainway Urban Farm booth at a farmers' market if you want some.


 , though Alex adapted for the winter season by using stronger clove and allspice seasonings.


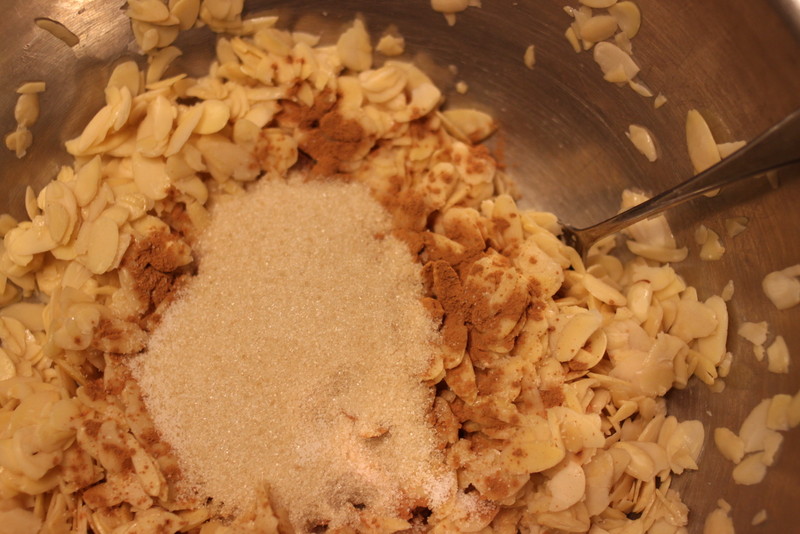


 1/3 cup sugar
1/8 teaspoon salt
1/2 teaspoon ground cinnamon
1/3 cup sugar
1/8 teaspoon salt
1/2 teaspoon ground cinnamon