When I'm asked the same question by three different people in three days, I know it must be a hot topic worthy of discussion.
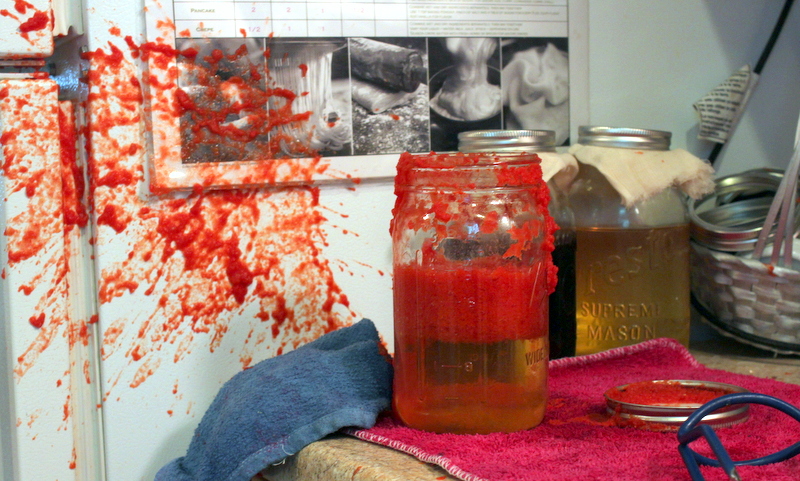
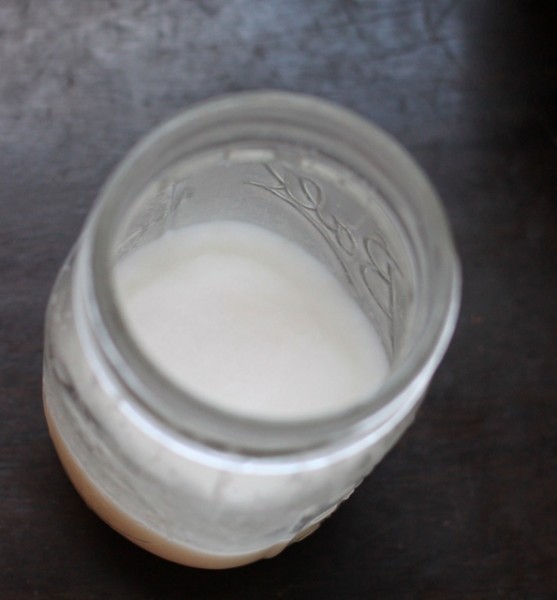
Here's the scenario: You've made stock, applesauce, or peaches in syrup. You carefully ladle it into hot jars with the recommended headspace and dutifully can the recommended length of time in a water bath or pressure canner. But when you pull the jars out, the headspace is different and it looks like the canning jars leaked! Or liquid is still flowing out of the jars as they are cooling! The jars do seal and you wonder - what happened? Are they ok to put in the pantry?
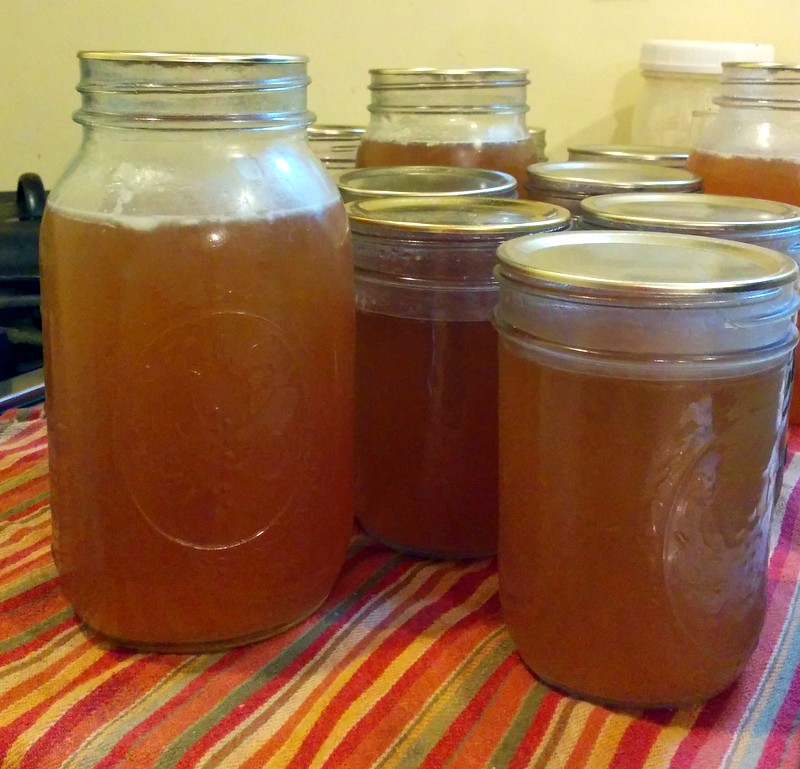
First of all, you are not alone. Every experienced canner has seen jars with uneven headspace - sometimes it's one jar in a batch or sometimes it's the whole canner load.
Why Headspace Changes
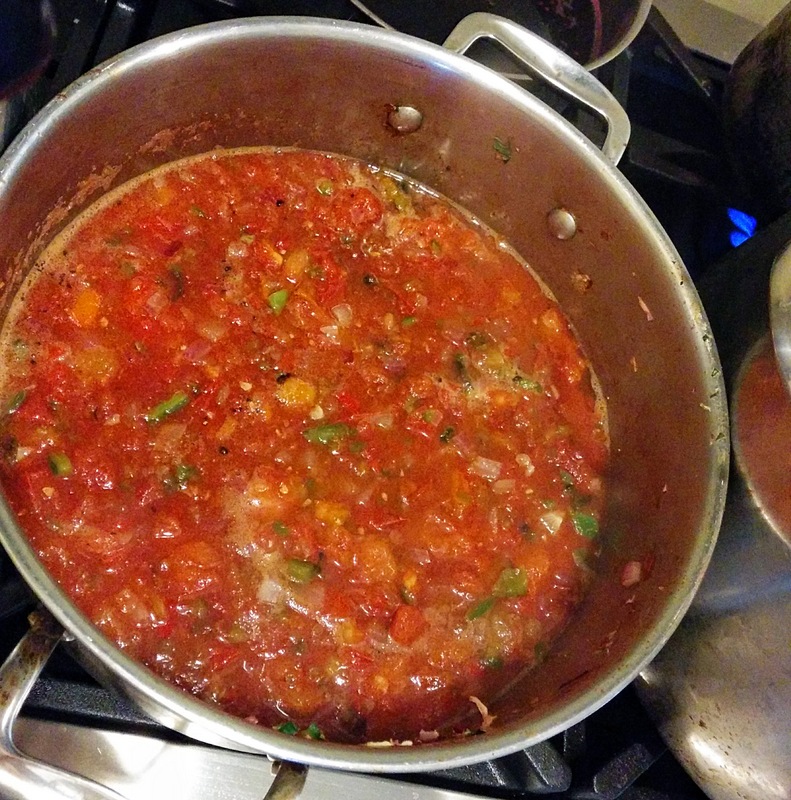
Often, vigorous boiling or steaming during processing forces a little liquid out. This is especially true if you overfill jars by a little bit, which is easy to do, especially when raw packing fruits that float.
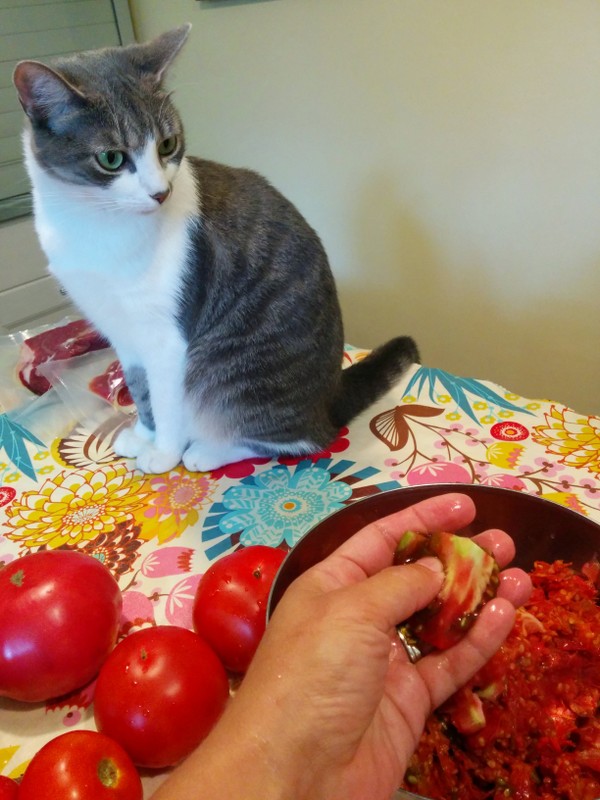
When one raw-packs tomatoes, corn, beans, peppers, or peaches in water or syrup, the produce may absorb some liquid during processing. Alternatively, if air bubbles aren't released before adding liquid, they will rise to the top during processing. This ultimately lowers the level of liquid in the jar.
Most often, liquid or sauce is forced out during the cooling process when air escapes the jar before it is fully sealed. Applesauce is especially prone to this; the sauce is viscous enough that air bubbles get a little 'stuck' behind the thick sauce and burst through a little more violently than they travel through liquid.
What To Do About Loss Of Liquid
After your jars are fully cooled, check the seal by lifting the jar gripping the edges of the lid only. If you are able to pick up the jar, it's sealed and you may store at room temperature. Clean any leaked liquid off the outside of the jar with a hot soapy rag because obviously anything outside the jar is prone to spoilage.
Occasionally the seal on jars that lost liquid during processing or cooling will fail later when a bit of fat, liquid, or produce matter dislodges the seal. This has never happened to me personally, but it's possible. If you ever find an unsealed jar on the pantry shelf, DISCARD the food and do not use it. I test every seal before I open a jar.
Food that remains exposed or floats on the top surface of the canning liquid may discolor but is still safe to eat. Store jars in a cool, dark place to slow the discoloring.
How To Prevent Canning Jars From Leaking
- Be sure to use very hot syrup or water when raw packing. If you're doing a large batch, it's ok to reheat the liquid during filling.
- Remove air bubbles with a sterile chopstick or butter knife and add liquid to achieve the correct headspace.
- Do not overfill jars.
- Carefully wipe the rims of every jar before putting on the lid to be sure there isn't a pathway for liquid to escape.
- Let jars cool a little (5-10 minutes) in the water bath after processing time ends and you turn off heat before removing them to the counter. My experience is that slower cooling results in less liquid loss, especially for applesauce.
- Always let the pressure canner come to room temperature on its own. Do not use cold water, remove the weight or otherwise try to hasten this process. Not only can you invite steam burns by messing with a hot pressure canner, but the jars need to cool slowly to avoid violent air expulsions that result in liquid loss.
Have you experienced canning jar liquid loss? What did you do?