If Canning Jars Leaked But Sealed, Are They OK?

what to do when canning jars leaked

When I'm asked the same question by three different people in three days, I know it must be a hot topic worthy of discussion.

Here's the scenario: You've made stock, applesauce, or peaches in syrup. You carefully ladle it into hot jars with the recommended headspace and dutifully can the recommended length of time in a water bath or pressure canner. But when you pull the jars out, the headspace is different and it looks like the canning jars leaked! Or liquid is still flowing out of the jars as they are cooling! The jars do seal and you wonder - what happened? Are they ok to put in the pantry?

First of all, you are not alone. Every experienced canner has seen jars with uneven headspace - sometimes it's one jar in a batch or sometimes it's the whole canner load.

Why Headspace Changes

Often, vigorous boiling or steaming during processing forces a little liquid out. This is especially true if you overfill jars by a little bit, which is easy to do, especially when raw packing fruits that float.

When one raw-packs tomatoes, corn, beans, peppers, or peaches in water or syrup, the produce may absorb some liquid during processing. Alternatively, if air bubbles aren't released before adding liquid, they will rise to the top during processing. This ultimately lowers the level of liquid in the jar.

Most often, liquid or sauce is forced out during the cooling process when air escapes the jar before it is fully sealed. Applesauce is especially prone to this; the sauce is viscous enough that air bubbles get a little 'stuck' behind the thick sauce and burst through a little more violently than they travel through liquid.

What To Do About Loss Of Liquid

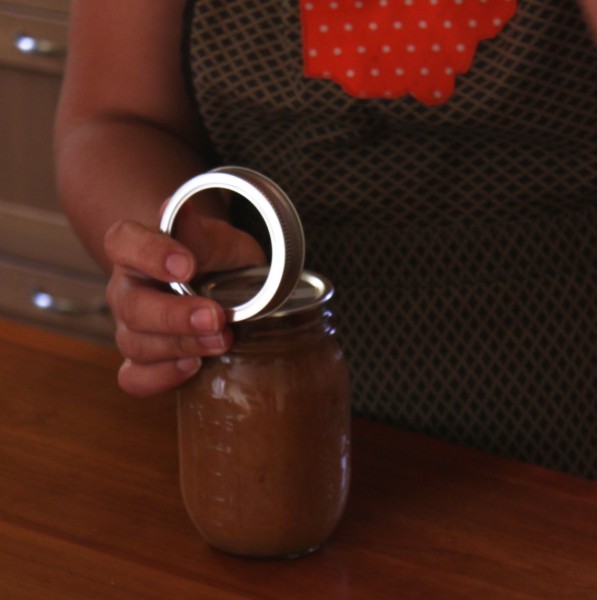
After your jars are fully cooled, check the seal by lifting the jar gripping the edges of the lid only. If you are able to pick up the jar, it's sealed and you may store at room temperature. Clean any leaked liquid off the outside of the jar with a hot soapy rag because obviously anything outside the jar is prone to spoilage.

Occasionally the seal on jars that lost liquid during processing or cooling will fail later when a bit of fat, liquid, or produce matter dislodges the seal. This has never happened to me personally, but it's possible. If you ever find an unsealed jar on the pantry shelf, DISCARD the food and do not use it. I test every seal before I open a jar.

Food that remains exposed or floats on the top surface of the canning liquid may discolor but is still safe to eat. Store jars in a cool, dark place to slow the discoloring.

How To Prevent Canning Jars From Leaking

  • Be sure to use very hot syrup or water when raw packing. If you're doing a large batch, it's ok to reheat the liquid during filling.
  • Remove air bubbles with a sterile chopstick or butter knife and add liquid to achieve the correct headspace.
  • Do not overfill jars.
  • Carefully wipe the rims of every jar before putting on the lid to be sure there isn't a pathway for liquid to escape.
  • Let jars cool a little (5-10 minutes) in the water bath after processing time ends and you turn off heat before removing them to the counter. My experience is that slower cooling results in less liquid loss, especially for applesauce.
  • Always let the pressure canner come to room temperature on its own. Do not use cold water, remove the weight or otherwise try to hasten this process. Not only can you invite steam burns by messing with a hot pressure canner, but the jars need to cool slowly to avoid violent air expulsions that result in liquid loss.

Have you experienced canning jar liquid loss? What did you do?
Homegrown Home-canned Salsa {Recipe}

homegrown salsa recipe Home-canned salsa. It sounds so simple and yet many people struggle to make something that's "just right". The first recipe I tried was too watery. The next was too bland and the third had a too-cooked texture.  These were all a disappointing use of homegrown tomatoes and peppers!

Then finally last year my friend Jenn (who also shared celery powder with me) passed along this recipe. It is thick, richly-flavored, and has a pleasing chunky texture.

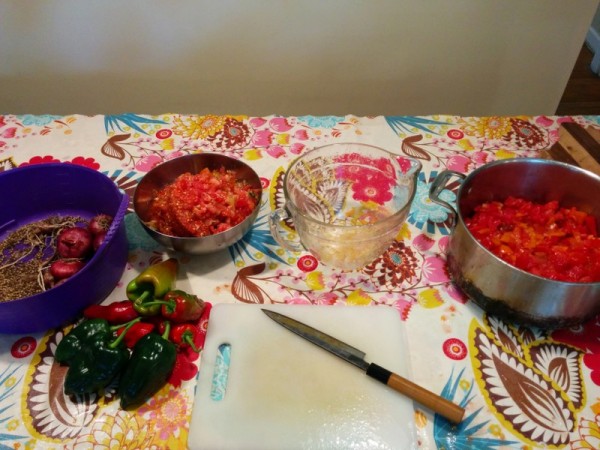
homemade salsa mise en place

There are several tricks that make this recipe work. First is the preparation of the produce. I carefully remove the seeds and watery pulp with my thumb from each section of tomato and drop that into a bowl for the chickens. I chop the remaining flesh with skin on into a colander to drain away any further juice. I measure the tomato pieces into a large measuring bowl and then move on to chopping the peppers, garlic, and onion.

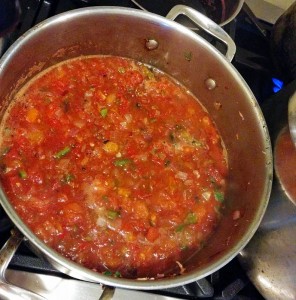
seeding tomatoes for salsacooking homemade salsa

Next up is seasonings. Dry spices like cumin and coriander add an aged, smokey flavor that differentiates this salsa from fresh pico de gallo. Our own touch is some of last season's homegrown and house smoked ancho peppers.

Two elements contribute to the perfect salsa texture: a quick cooking and processing time and the addition of tomato paste. Overcooked salsa has the taste and texture of tomato soup, which isn't what we prefer. Tomato paste (we can our own each year) thickens the salsa while adding a rich, dense tomato flavor.

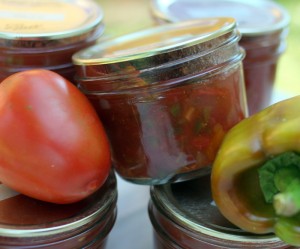
I like to can salsa in squat half pint jars manufactured by Kerr, found locally at City Folk's Farm Shop. The short and wide dimensions allow for dipping right out of the jar.

If you, like me, have been searching for the perfect tomato salsa recipe, try this one. 

Home-Canned Salsa

Makes: 10 half pints

canned salsa

8 cups chopped, seeded, drained tomatoes 2 cups finely diced red onion 1.5 cups chopped peppers (use a mix of sweet and hot peppers for a medium heat salsa) 6 cloves garlic, minced 1/3 cup lime juice 1/3 cup vinegar 1 tablespoon kosher salt 2 teaspoons ground cumin 2 teaspoons ground smoked ancho peppers 1 teaspoon ground coriander seeds 1 teaspoon black pepper 8 ounces tomato paste

1. Stir tomatoes, onion, peppers, and garlic in a large heavy-bottomed pot. Add in lime juice, vinegar, kosher salt, cumin, ancho peppers, coriander, and black pepper.

2. Bring to a simmer on the stove. Cook for 5-10 minutes until onions begin to soften. Meanwhile, heat 9 half pint jars in a boiling water bath. Wash rings and new lids in hot soapy water.

3. Stir in tomato paste and return salsa to a simmer. Taste and adjust seasonings if necessary.

4. Ladle salsa into sterilized jars. Fill to a head space of 1/2 inch. Center lid and tighten rings.

5. Process for 15 minutes in a boiling water bath. Remove from hot water, allow to cool completely, label, and store.

A note about canning salsa safely: Keep the proportions of tomatoes, onions and peppers to lime juice and vinegar consistent. This recipe keeps the ratios of pH tested recipes which rely on juice and vinegar to add acidity and balance the lower pH of onions and peppers. You can use fewer peppers and onions or spice up the salsa with additional dried peppers but do not increase the amount of peppers and onions or you might create a finished product without a low enough pH to be safely canned in a water bath.

Our Worst Canning Accident Yet

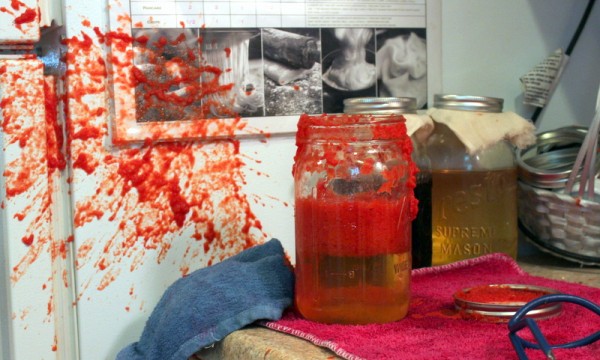
canning disaster My students at canning classes frequently express concern about botulism. I ease their fears about that rare occurrence by assuring them they should worry about burns instead. Hanging around boiling water, hot jars, and simmering sauces is a recipe for a brush with hot stuff, one I experienced today.

My friend Kate of Kate On The Way and I were canning sauced tomatoes in quarts. During the water bath phase, one of the lids loosened and tomato sauce seeped into the boil. No problem, we kept the other jars in there to finish processing.

Kate removed a jar after the finished time. As she went to tighten the ring a bit (a necessary step for Tattler lids), the lid flew off, creating an explosion of tomato. We both were covered in the spray of boiling sugary puree.

We ran for cool water and eventually made our way outside to harvest, chew, and apply plantain poultice. Our left arms have a series of first and second degree* burns with Kate suffering more than me.

Alex was kind enough to pull the remaining jars from the canner after they cooled a little. By then, three of the remaining jars had also lost their lids, the contents mingling with the water bath.

Learning From A Canning Accident

Since neither of us were hurt badly, we moved pretty quickly into the "how did this happen?" phase. Kate and I have each canned hundreds of jars of food before, if not thousands.

We referenced a canning book and filled the jars to the right head space. We heated the canning bath to a simmer so the jars weren't rattling in a raging boil. We used a proper canner with a  rack on the bottom. We have done all of these things many times.

We concluded that the lids must have been the issue. Although they were tightened according to directions, and Kate and I both have used them before, the Tattler process failed this time. Will we ever use Tattlers again? Kate says yes, I'm less sure.

Additionally, I experienced why it isn't a good idea to hover when someone else is pulling jars out of the water bath. I can't remember exactly why I was near - I might have been getting ready to grab something out of the fridge - but I shouldn't have been so close. While the Tattlers might be responsible in this case, glass failures and drops can also occur when jars are moved from the water bath to the cooling place. Someone standing nearby can be in the line of fire.

Finally, we were reminded that even experienced canners must remain vigilant to the risks at hand. We feel fortunate that the liquid exploded onto our bodies and not our faces, and that no pets or children were caught in the splatter. We lost some home-grown goodness and in a little bit of pain, but ultimately realize this could have been much worse.

We'll continue to put up food using water bath and pressure canning, with these lessons learned:

  • Use caution if you use Tattler lids with liquidy sauces
  • Stand back when removing hot jars from the hot water bath
  • Keep children and pets at a distance when canning
  • Have a plan in place for treating burns
  • *Identify some plantain in your yard. By all accounts, we should have blistered burns but thanks to plantain we don't. Kate details a little more about using plantain to heal.

What's your worst canning disaster? What did you learn from it?

Ketchup, For The Good Times {Recipe}

homemade ketchup recipe Some preserves are easy, some are drastically cheaper than store-bought, and some are tastier than anything you can buy. Alas, homemade ketchup is none of these things.

So I can't exactly explain why I make it every year.

I suppose I can ketchup because processing all the jars of regular sauce becomes boring. And when I'm in the midst of tomato madness, condensing a little puree with spices isn't any extra trouble - it is, in fact, a welcome chance to do something different.

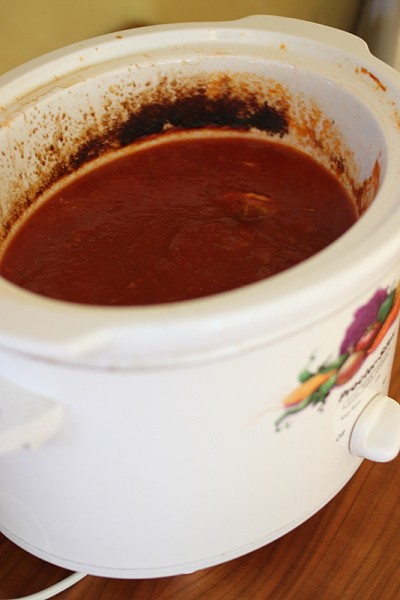
Last year I improved my ketchup method by cooking the sauce down in a slow cooker. This prevents the bottom from scorching and makes it easy to leave the house or do other chores during the lengthy, oh so lengthy, cooking period.

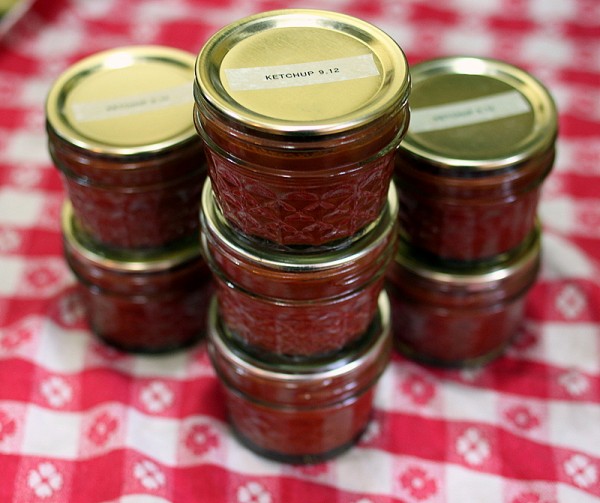
While ketchup doesn't meet any of my traditional characteristics of a recommended preserve, HITK readers have ask for my recipe. Here it is:

ketchup recipe in slow cooker

Homemade Ketchup

Makes: approximately 5 pints Time: 12 hours cooking, 30 minutes active

1 teaspoon olive oil 1 whole onion, diced 2 quarts tomato pulp (most easily made with a food strainer and sauce maker tool, or made by stewing tomatoes and running through a manual foodmill to remove skins and seeds.) 1 cup brown sugar or honey 1/4 cup apple cider vinegar 1 teaspoon garlic powder sachet of whole aromatic spices (your choice of bay leaf, cinnamon stick, cloves, allspice berries, juniper berries, celery seeds - I use a little of each) 1 teaspoon salt 1/2 teaspoon white pepper 1/2 teaspoon lemon juice per pint

1. Heat a medium sized pot over low heat. Add olive oil and onions. Cook until translucent, approximately 10 minutes. 2. Add onions and remaining ingredients except for lemon juice to a slow cooker*. Turn slow cooker on high and allow to simmer for 3-4 hours. 3. Remove spice sachet and set aside. Puree mixture with an immersion blender. 4. Replace spice sachet and continue to cook for 3-4 hours. Taste (don't burn your tongue!) and adjust salt, pepper, vinegar, or sugar as you see fit. 5. Continue cooking and tasting until tomato is of ketchup consistency. This may take an additional 3-4 hours. 6. Ladle hot ketchup into sterile jars with one half teaspoon lemon juice per pint. Wipe rims, place on two part lids, and process in a water bath for 35 minutes/pints, 40 minutes/quarts. Remove from water bath, cool, and store properly.

*Don't have a slow cooker? Use a medium pot on low heat, uncovered, and stir frequently to be sure the bottom does not burn.

This post, with much respect for the A Prairie Home Companion, brought to you by the Ketchup Advisory Board.

Pressure is On! Canning Sweet Corn

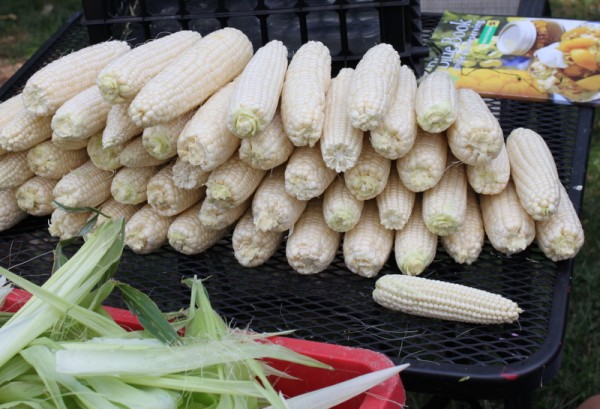
corn for pressure canning I finally did it. I bit the bullet and tried pressure canning. I chose canning corn for my first project because it is abundant right now and I generally like store-bought canned corn.

To begin, Alex and I husked 4 dozen ears of fresh, non-GMO corn from Bird's Haven Farms. I cut kernels off the cobs while a large pot water boiled on the stove and the jars and lids sanitized in two additional pots of boiling water. Yes, I'm glad that our heat wave finally broke and the kitchen stayed at sub-sauna temperatures!

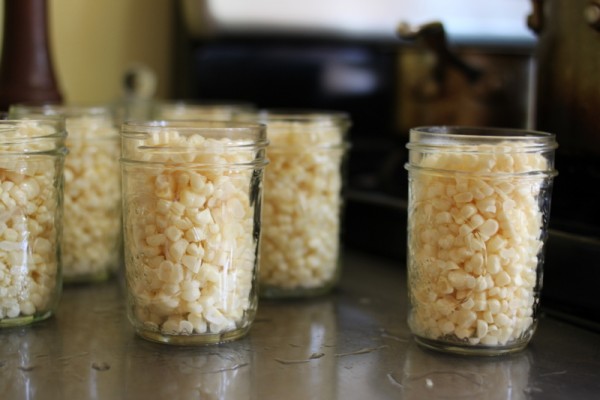
sweet corn in jars for canning

I loaded the raw corn into the jars, pouring boiling water over top and released air bubbles with a sanitized thin knife. I read the instruction manual and adjusted the canner weight for 10 pounds of pressure. Then I placed on the two part lids, put the jars in the canner, twisted the lid closed and turned up the heat.

My sweet corn and I survived to report that pressure canning is no more trouble than water bath canning. The only difference, really and truly, is the annoyance of the sputtering canner sound. For sweet corn, you must endure the hissing for a full fifty five minutes. I recommend leaving the kitchen and doing something else during the processing, lest your ears bleed from the racket.

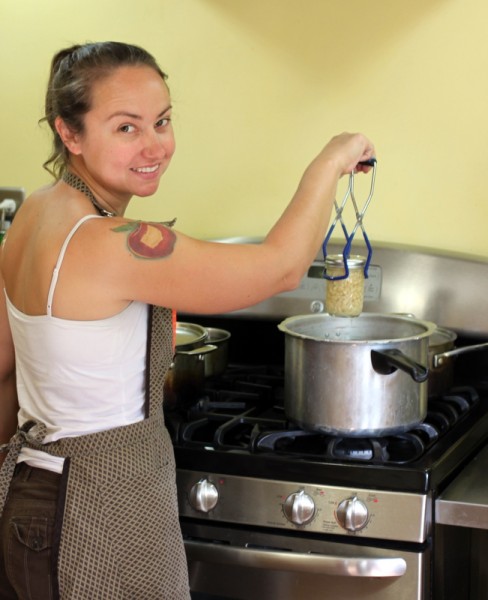
lifting jar out of pressure canner

The canner had to cool for a full half hour before the seal released. All six jars sealed within minutes of being removed from the pot. Sweet!

Only time will tell if home canned corn texture is something I enjoy eating, but at the very least this batch taught me that pressure canning is nothing I should fear. Low acid vegetables, stocks, and meats - the pressure is on!

Have you ever pressure canned? What do you think about it?


Added to Simple Lives Thursday #110